How to setup & use Authentik with simple Forward Proxy / as a simple Reverse Proxy
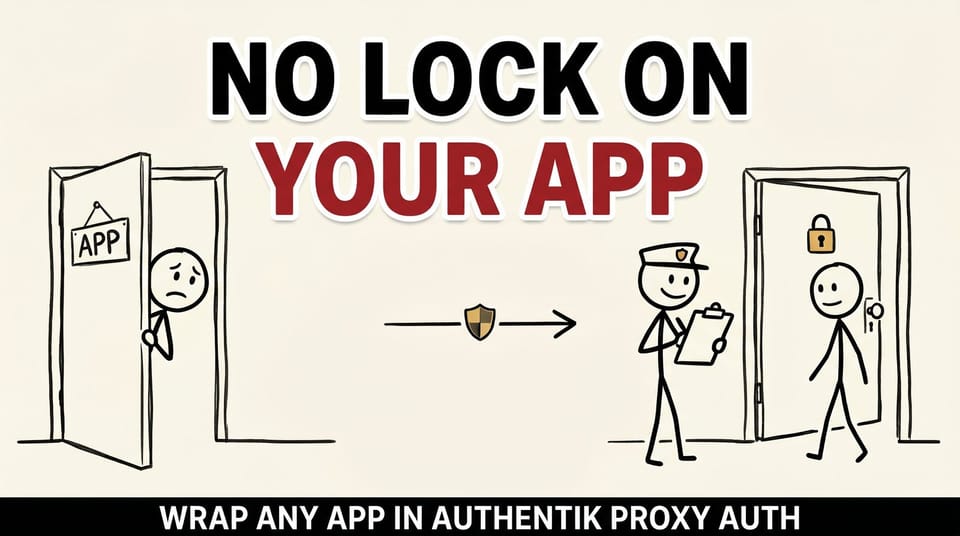
Table of contents
Authentik can be used as a (very) simple reverse proxy by using it's Provider feature with the regular "Proxy" setting. This let's you wrap authentication around a sub-domain / app where it normally wouldn't have authentication (or not the type of auth that you would specifically want) and then have Authentik handle the proxy forwarding and Auth.
In this mode, there is no domain level nor 'integrated' authentication into your desired app; Authentik becomes BOTH your (very simple) reverse proxy AND auth for this one particular app or (sub) domain. This mode does not forward authentication (only forwarding the domain magic, akin to a reverse proxy ... but simpler and less features) nor let you log in into any app. It's just acts like an authentication wrapper, nothing more: It becomes JUST a simple proxy forward. Nothing more. Nothing less ... except + Authentik auth
Thus, if you're looking for some deeper integration then this tutorial is not for you.
Before we start though one quick note: I recommend using a normal reverse proxy out front. Yes, this adds a second layer of routing to deal with. Though as Authentik is not NGINX or a reverse proxy system it does not have many configuration options. Thus: use something like Nginx or Nginx Proxy Manager (a pretty interface for Nginx) or otherwise and then have THAT route to Authentik (explained below).
Overview
We'll be setting up an application (website) to use Authentik's Proxy Forward feature and use that via Nginx Proxy Manager.
The high level steps are:
- Follow Authentik's steps to setup a proxy forward.
- Update the sub-domain to route to Authentik
Process
We had a few services running that either had no authentication available or we wanted more authentication control over even though that system didn't (doesn't) support LDAP/SSO and the like.
Thus, we'll be using Authentik to do domain level authentication routing so that nothing can touch the actual service (via the sub-domain) without being authorized (via Authentik) first.
First we'll setup Authentik with a new Application and Provider (in Proxy Auth mode, NOT Auth Forward) and only then we'll update our Nginx proxy-pass routing.
Before starting, we'll use the following FAKE domains in this example:
Authentik domain: auth.yourdomain.com
App domain: app.yourdomain.com
Nginx Proxy manager (NPM): nginx.yourdomain.com
Authentik's docker conter name: auth_server
I'll also make up random port numbers when needed in the example. I've set this up all with Docker and Docker networks thus I used my Docker Container Names for the 'domain name' for routing, but I'll explain that below as we go along.
1. Log in into Authentik and go to the Admin Interface: https://auth.yourdomain.com/if/admin
2. Create a new Proxy Provider:

3. Setup your Proxy Provider with the following settings:
Name: Your apps name
Authorization Flow: Authorize Application IMPLICIT content (this makes things easier)
Type (the buttons): PROXY
External Host: https://app.yourdomain.com (YES you read this right, this is your APPLICATIONS domain that Authentik will now be using)

Internal host: http://docker-container-name:1234
or
Internal host: http://127.0.0.1:5678

UNCHECK Internal host SSL Validation
The Internal Host is the upstream ... the 'source' ... the actual live place to pull data from if it were being access directly, IP/Name AND port (if applicable).
There's nothing in the Advanced protocol settings area to worry about at this time, safe to ignore.
Here's how my demo looks like:

4. Create the application:
The application is (sort of) the access controller, thus we'll set it up to use the new provider we just created. The settings for this are very simple and quick:
Name: Your applications name
Slug: lower case simple url slug, example: myapp
Provider: select the Provider we just created
That's it. Usually that's it for this. You shouldn't have to set the Launch URL, but if it messes it up you can adjust it later.

5. Add this application to your (main) outpost(s):
Edit your main outpost(s) and add (shift/control click) all the applications you want to use in this outpost including the new Application we just created in step 4. and then click Update.
6. Go to your Nginx or NPM settings and change the destination / proxy_pass to be your Authentik instance:
Your Nginx (or other reverse proxy) should be updated to route NOT directly to your application, but instead to Authentik. Thus the path routing into your app would look something like:
Internet -> Router & firewall magic -> Nginx -> Authentik -> App
Here are the setings I use for my apps:

In Nginx Proxy manager I set Block Common Exploits and Websockets. Both.
If your using just Nginx or another service, remeber to allow Websockets (http upgrade)
Final Notes
I also recommend enabling SSL via your chosen reverse proxy. In my case, NPM handles that.
You CAN have Authentik handle that, but it gets messy real quick. Thus better have something else handle that instead. Remember: Authentik is an authentication system and NOT a dedicated reverse proxy, thus let Authentik focus on the things it is good at: auth.
If you're using something like UptimeKuma, consider disable Kuma's authentication so that you get directly into the system.
Sadly not all systems allow for that nor have included authentication integration for external services ... thus sometimes you may end up having to do double authentication ..... which sucks. But getting around that is another story for another post.
Hope that helps!